
This is the third year of my DIY costume series. For year 1 click HERE. For Year 2 click HERE
If you've been following the blog, you might remember that a new little guy joined our family last October. He was only 2 days old last Oct 31, so this year is my first time getting to dress him up into something seriously cute. Also, if you've been following, you know that I have an obsession with making my kids' costumes have a theme. I am not sure how much longer I will be able to continue with this as my older two are starting to get a little more opinionated about their costumes and probably won't always want their costumes to "match". But I will ride this train as long as I can!

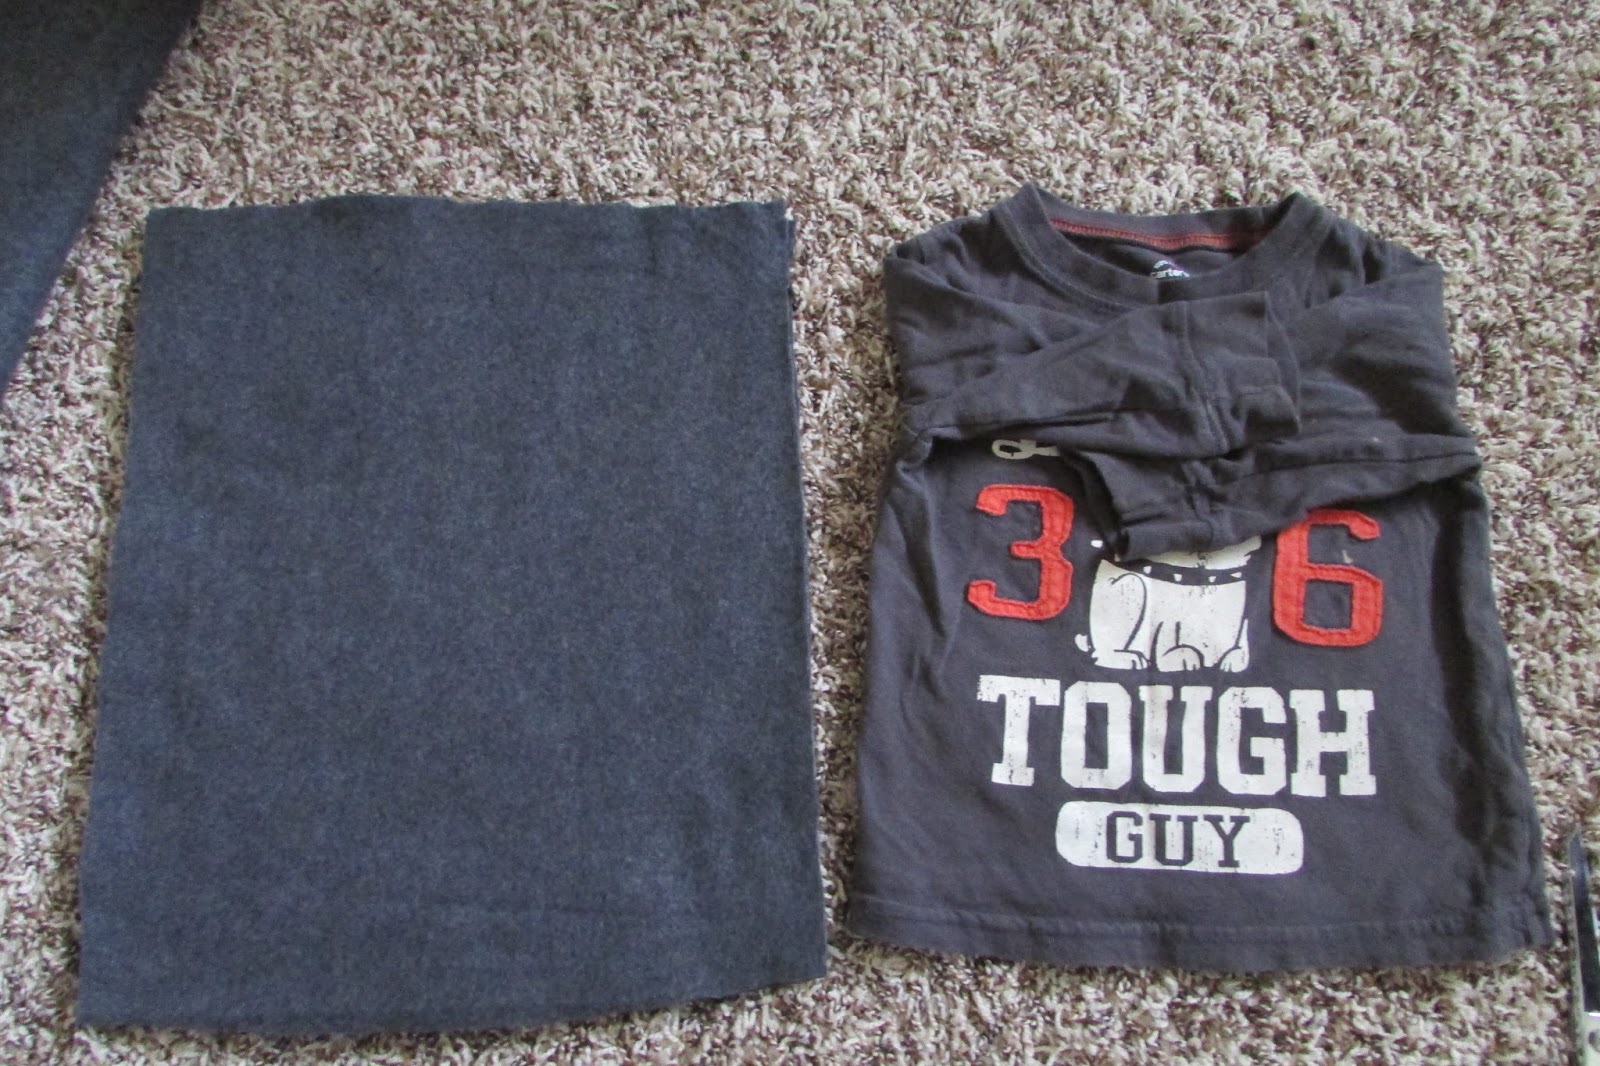
First Up: Baby Shark Costume
- 1/2 yard of gray fleece (for the body and hat)
- 1 sheet of gray felt (for the fin)
- 1 sheet of white felt (for the shark stomach, eyes & teeth)
- scrap of black felt (for the eyes)
- scrap of red felt (for the shark gums)
- some elastic if you want the shirt to be gathered at the bottom but this is optional.
- I was able to find some gray pants and a shirt I already had to use as the costume base

Fold your fabric in half (wrong sides out). I used an existing shirt to help me with the size I would need for a 6-12 month old. Giving myself some extra room for seams, I very carefully cut out a rectangle a little larger than the size of the shirt.


For the fin: take your gray felt and make a triangle. Cut off excess. Just eyeball what size triangle looks good on your shirt.


- half yard of black felt (from the bolt not the little squares) for the pirate vest, hat, and eye patch
- elastic for the eye patch and the hat
- scrap of red fabric long enough to tie around the waist as a sash
- I found a foam pirate sword at Wal-Mart for $1.97
- I used an existing shirt and pants for the costume base.
 Follow the directions for the pattern: for the back piece you'll be cutting on the fold (ie.e your fabric is folded in half)
For the two side pieces, lay the felt on top of each other (no fold needed). Be sure to also fold down that triangle piece on the pattern
You'll end up with 3 pieces. Just pin them together. Before I sewed, I took my scissors and cut a zig-zag pattern along the bottom to give it a pirate look.
Sew your pieces together, and then turn right-side out to hide your seams. Easy-peasy vest!


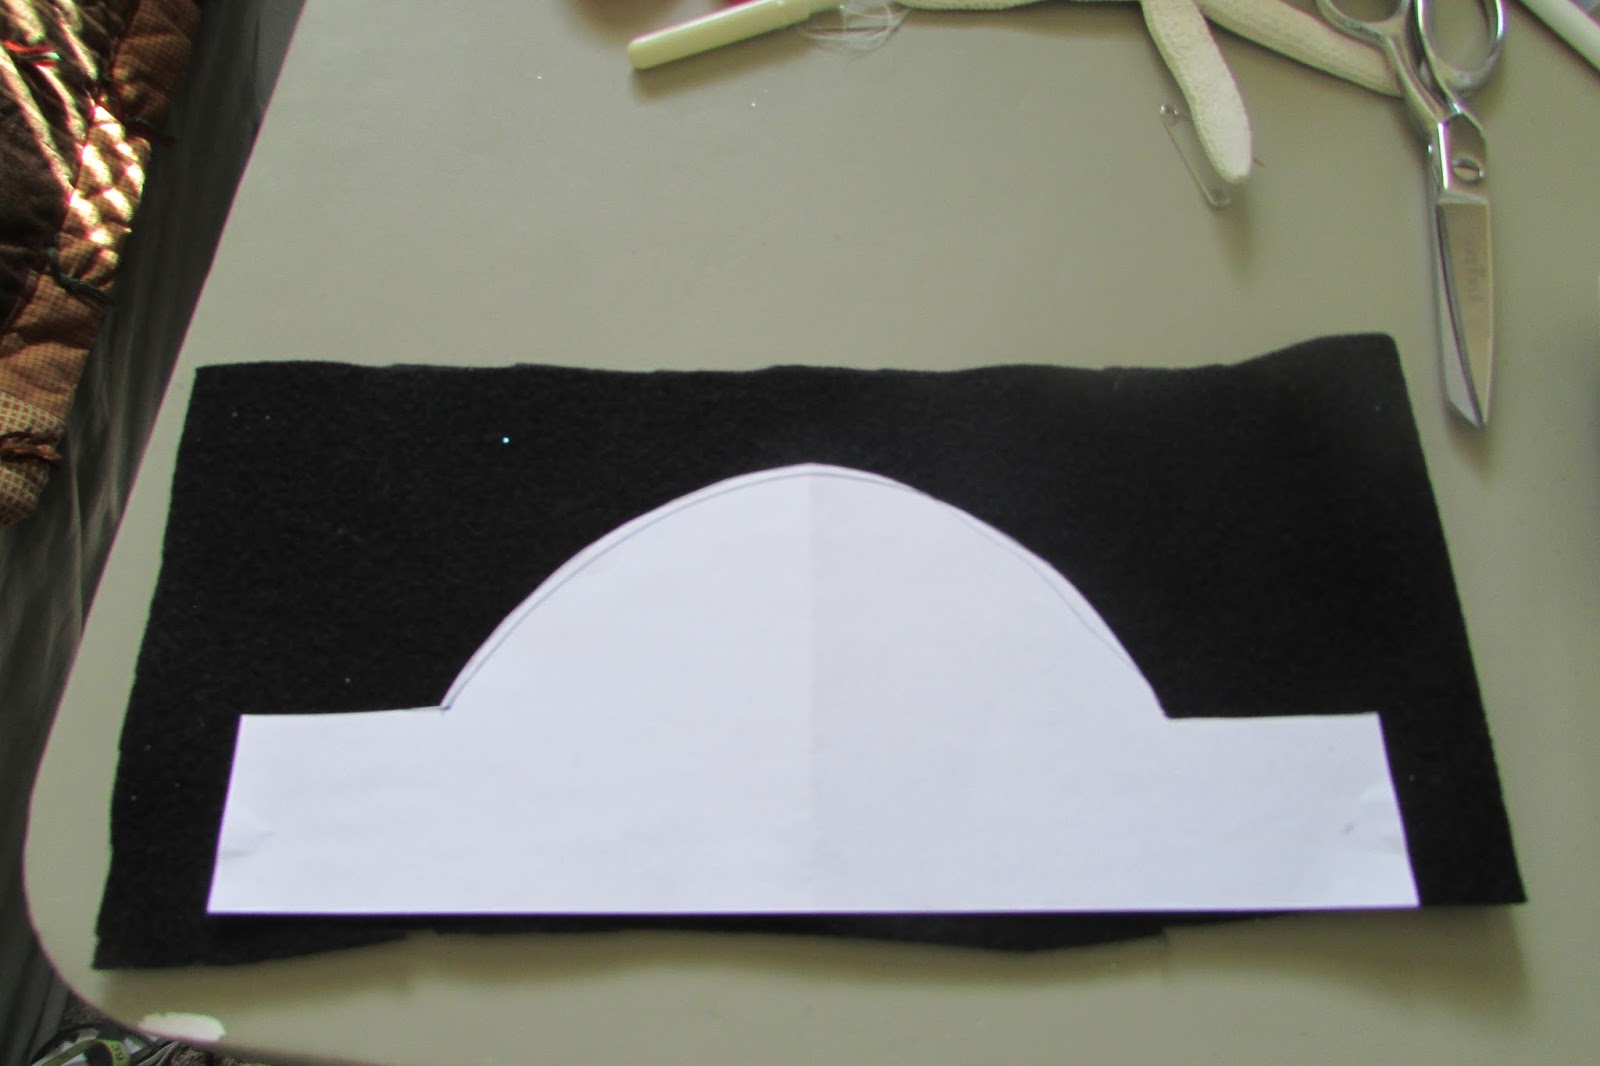
I was originally planning on buying pirate accessories until I realized I had plenty of extra felt left over and no reason not to just make them. I took a piece of white printer paper and just sketched out the basic outline of a hat. I didn't make an actual hat, just the outline and then used elastic. I did cut out two of the hat shapes, sewed the sides (leave an opening on each side for your elastic) and tops together and then flipped it so the seams were hidden.Then, insert elastic on the sides and sew closed.


 |
| back of eye patch |
 |
| front of eye patch |
One happy pirate!


Finally: Mermaid Tail
- 1 yard of green fabric for the tail
- 1/2 yard of organza fabric for the fins and around the waist
- elastic for the waist
- any "under the sea" accessories
- I used a purple shirt for the costume base, but in the tutorial link there are instructions for using a nude leotard and adding the clam-shell bra detail (my husband would have a heart attack seeing his little girl dressed like that, so we did this instead.)

Take your tail fabric and measure out the width and length for your child. Give yourself lots of extra length for putting in the elastic waist. You can always cut off excess later. Keep in mind that you want it straight but not too tight because she'll need to be able to walk and/or wear pants (possibly snow pants) under it for Halloween night. This can be kind of tricky, but my philosophy is its better to have it too big than too small! Sew a seam up the back (wrong sides out). Basically you'll have a long tube.


after you've done the front, take your scissors and round off that extra 2 inches. This just gives it a more fin-like appearance. For the back fins, again do each fin (right and left side) individually. The tutorial says not to pleat them so I didn't. Although you definitely could. Again, leave two inches extra on the side toward the toes. After you've sewn both side, round off that extra fabric. My biggest regret for this sewing project was not using green thread! I didn't think the white would be too terrible, but it really stands out. So learn from me, buy green thread!


Front fins with pleats

Now that your fins are done it's time to finish the waist. Have your
little mermaid try on the skirt so you can see if it's too long. You
want the V part of skirt at about the ankles. Leave yourself about 1-2
inches of extra for the casing for your elastic waist and then cut off the extra. I did not follow the instructions for sewing the elastic in
the waist. I am a big believer in sewing the casing for the elastic
first because that it was works for me. The way I did it only differs slightly from the original tutorial.
After you've trimmed the length down, fold down the waist of your tail and sew a casing for your elastic. BUT DON"T PUT IN THE ELASTIC YET! Then, take your remaining organza piece and wrap it around the unfinished waist (i.e. no elastic yet). Pin it in place. I also overlapped the two end pieces in the back so there were no gaps in the fabric. Once you're ready, sew the organza to the top of the fabric.


You now can add any other details like some kind of sparkly jewel in the center of the waist where its gathered. I love JoAnne's fabric stores. I got all of my materials there, the jewel for the center, and the sea star for the hair clip. I always shop there with their store coupons in hand. I love that you can use more than one coupon (i.e. 50% off a cut of fabric, 50% off one jewelry item, 50% off one item from the floral department) --this entire outfit was less than $10!

A sea star/ seashell headband, hair clip, or necklace would be cute too. I just happened to have a shell necklace I got as a souvenir from Indonesia.I found a pack of 3 sea stars at Joanne's and hot glued the smallest one to an alligator clip. Then I made a small felt flower (it's supposed to represent seaweed. come on, use your imagination!) and glued it on there too. Then, I also found a sparkly green headband in the clearance bin at JoAnne's for 50 cents! I couldn't pass that up!


Happy Halloween 2015!