I know it's March, so if you're looking for some St. Patrick's Day printables, click
HERE
My six and three year old have very active imaginations and love to play pretend. Pretend cooking, pretend picnics...I love to listen to them as they play together and come up with little stories to act out. I considered buying some plastic kitchen food, but then had a thought of a clarity: 1) it's overpriced and 2) I could just imagine one of them hitting the other with a plastic turkey leg. So I turned to a less expensive, quieter, and less injury inducing alternative. I turned to pinterest to gather my ideas. And while there were tons of pictures of felt food people had made, I had a harder time finding patterns or instructions. I finally decided to make my own patterns and to just go for it...learning along the way.
Please note that this was my first time creating my own patterns, and I learned a lot! I will do my best to impart my wisdom (if any) that I gained and I'm sorry if parts of this tutorial are confusing.
To make the felt food, I took a trip to Joanne's Craft Store to buy sheets of felt. They are usually about .50 or less per sheet.
Apple: this is not my pattern. I found this pattern and used it. It was simple and the apple turned out so cute!
NOTE: To print all patterns, you'll want to print them horizontal (landscape) and make sure they fill up the entire page of a regular printer sheet of paper.
For the apple pattern, click
HERE
In an effort to save paper, I tried to fit as many shapes onto a standard white piece of printer paper.
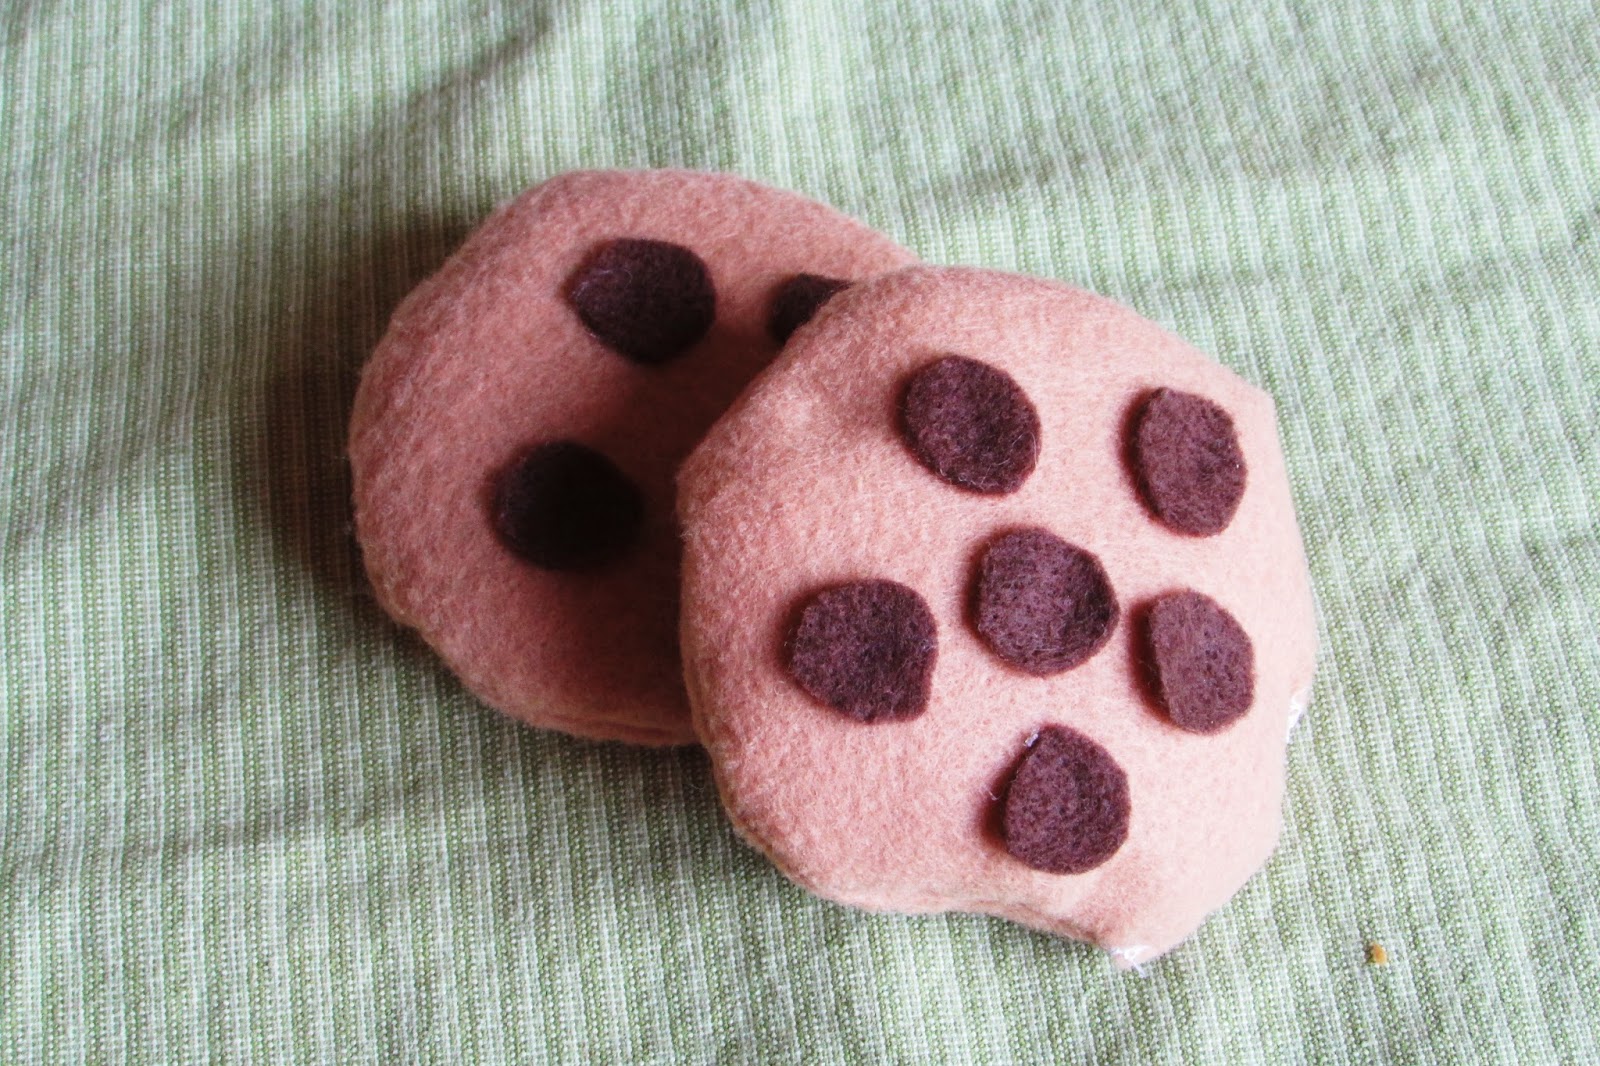
Egg, Carrot and Cookie: When it says x2 that means I cut out two of that shape. I stuffed the carrots and cookies (sewing together wrong side out, left a space for stuffing, turned right side out, stuffed and then hand sewed closed) and for the egg, I just laid two pieces of white felt on top of each other and sewed around the edges. I liked doing this because I felt like it really reinforced the egg and made it more durable instead of floppy. You'll see I do this for several other food items.
For egg, carrot, cookie pattern, click
HERE
I kind of deviated from the pattern a little bit to make my carrots a little smaller. The opening at the top is where I left it open so I could add stuffing. Then I just added some strips of green and sewed the opening closed.
I cut the egg yolk out, added a tiny bit of stuffing and sewed it with my machine after I had already sewed the two white pieces together.
I was going to hand sew the "chocolate chips" on and then decided I was way too lazy and that my kids wouldn't care, so I hot glued them instead!
Pizza and Hamburger: Here's where it gets a little confusing, so please bear with me!
Pizza: I only cut out one of the crust, not two. I did this because I figured I was already sewing so many other layers, two crust layers wasn't really needed--and I was right. The pizza turned out plenty stiff. Also, my pizza is about the size of a "personal pan pizza". So if you want a regular sized pizza you'll obviously need to cut your circles bigger. There are also two different versions of the lettuce for the hamburger. I ended up liking the top one better.
For this pattern, click
HERE
The pizza cheese circle ended up being way too small. Instead, I used the circle for the sauce and then took my scissors to cut around it again making wavy lines to look like melted cheese. So cut out TWO pizza sauce circles: One on red felt for the actual sauce. The second one on white felt for the cheese.

For the pizza pattern, click
HERE
The size of the pizza is like a personal pan pizza. I arranged all my pizza pieces how I wanted them and then cut the pizza into fourths. Taking each section at a time, I sewed the three layers together (crust, sauce, cheese). Then, like the cookies, I just hot glued the pepperonis and mushrooms. (I really hate hand-sewing, can you tell?)
Hamburger: The lettuce, cheese, and tomato were pretty simple--I cut two of each shape out of the felt and just sewed them together--no stuffing. You can tell I did add some detail to my cheese.
I realized the size of the bun and patty were way too disproportionate-- especially once you factor in that I stuffed these (turning them right side out) and that makes them even smaller! So instead, I used the PIZZA SAUCE circles for the bun--cut out two of those for each bun (so 4 total). Sew around the edges of two circles, leaving an opening. Turn right side out and then stuff. Hand sew the opening closed. It makes the bun the perfect size. Repeat again for the other bun. For the patty, I used the HAMBURGER BUN circle. (are you confused yet?) Cut out two circles, sew around edges leaving an opening. Turn right side out, stuff, and hand sew it closed. Guess how I applied the black grill marks? That's right, hot glue!!
For the hamburger pattern, click
HERE
And that, my friends, is my first round of felt food! There are so many more cute ideas out there, I can't wait to make more.
And stay tuned for part two in this felt tutorial--up next I'm going to show you how to make a cute farm play mat that folds for easy carry in a diaper bag or church bag. I'm a little felt obsessed!